Dying to build a coffee table with a metal base, but you don’t have access to a welder? No worries! With a little aluminum tubing, wood, and spray paint, you can get the look you want affordably and easily.
Before I spill the details, I want to mention that I had no idea any of this was possible until I stumbled upon this youtube video from Modern Builds. Mike Montgomery is brilliant, and he lays out the details in a really clear way.
I did change my table base up slightly from his plans, but I used his method for fortifying the aluminum tubing to make it strong enough to support the table. I can’t recommend his channel enough- he has so many great ideas.
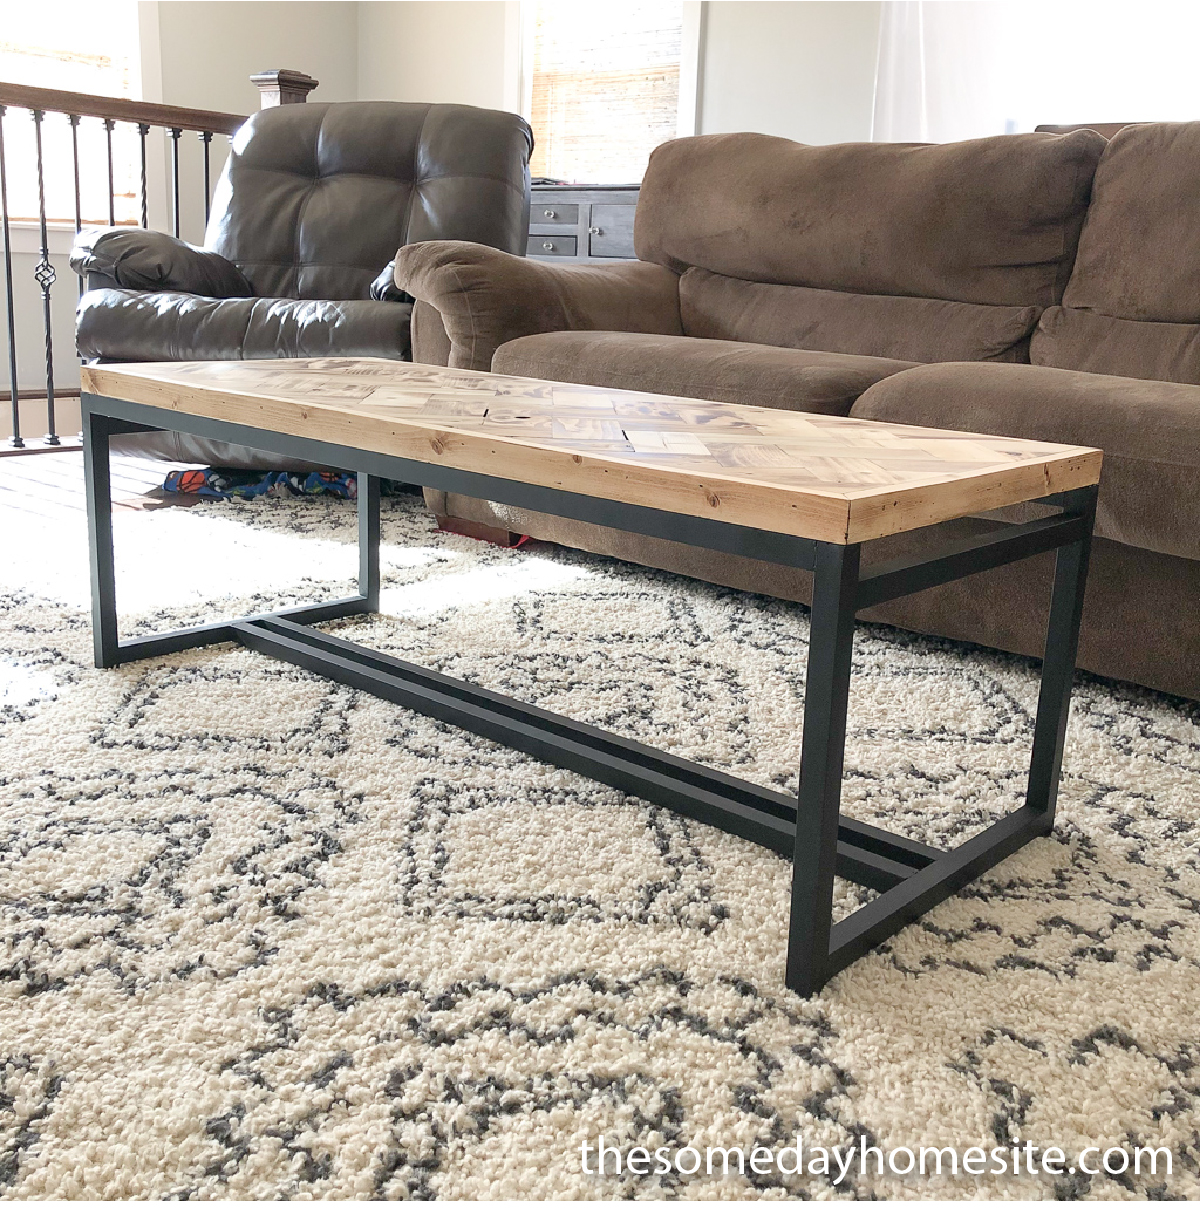
I love the way this coffee table turned out, and although I do plan to build a real metal base as soon as I can make room in my arsenal for welding supplies 🙂
No-Weld Metal Coffee Table Base
Aluminum is soft enough to be cut with a regular miter saw which, obviously, is a good thing… but also means that it’s not super-solid… which is kind of a bad thing for an apparatus that is meant to hold a solid wood top plus whatever else we decide to set on it (books, cups, decor, children, etc). Because of that, Mike suggested adding wood to the inside of the tubing. In his tutorial, he only added the wood to the ends so he would have something solid to drill into. He mentioned that his base didn’t feel super stable, and he thought it might’ve been better if he had made them solid throughout, so that’s what I planned to do.
I bought 1 x 1″ square aluminum tubing at Menards. I also bought pine 1 x 1’s to fill them with, but needed to run them through the table saw to shave them down until they fit inside the tubing.
Cut the aluminum
I decided to make my table 18ish tall. I didn’t need it to be exact, but it’s about 18″ from my couch cushions to the floor, and I wanted it to be close. Because my tabletop was made with 2 x 4s, it wasn’t quite 2″ thick, so I decided to cut my table legs at 16 1/2.
I needed to cut my top and bottom side stretchers next. My tabletop is exactly 48″ long and 19 1/2″ wide. To the find the length of my stretchers, I simply subtracted 2″ from the length and width, to account for the 1 x 1″ legs that would run from the tabletop to the floor. That meant I needed 4 side stretchers at 46″ (two to support the long sides on the top, and two to support the long sides on the bottom), and 4 short side stretchers at 17 1/2.”
Reinforce the aluminum
Once my aluminum was cut, I cut the same measurements into my shaved down wooden 1 x 1’s. I added wood glue and inserted the wood into the aluminum, and then allowed it to dry for 24 hours.

Assemble your coffee table base
I began by assembling the two ends of the coffee table base. I thought if I could get them put together, it would be easiest to add the long stretchers last.

I created a quick jig with some scrap wood to help me make sure my two ends were exactly the same. There’s nothing worse than marking the same measurements multiple times, clamping things together, and hoping you’re not off by 1/16″. Taking the time to cut a piece of scrap plywood and screw it to the table allowed me to be confident that both of my ends would line up.
Rather than having my top stretcher sit all the way at the top (right under the tabletop), I opted to attach it an inch lower. I was nervous about trying to fit two screws through the leg (one to attach the long side stretcher, the other to attach the end stretcher) without hitting them.


Once I assembled the ends, I added my top stretchers and then the bottom stretchers. I filled the screw holes and the joints with wood filler and then sanded with a 220 grit sandpaper, and then gave it a good coat of primer and my favorite flat black spray paint.
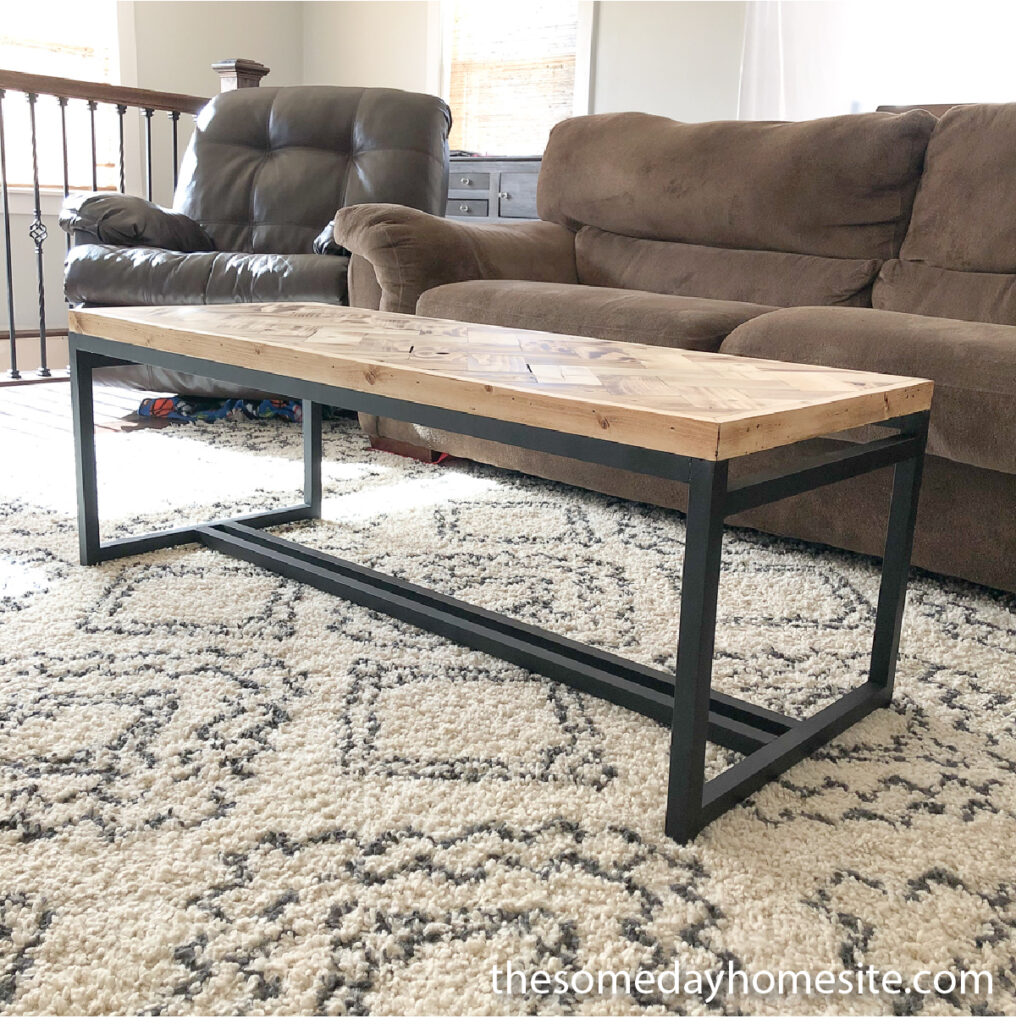
Attach the tabletop
Finally, it was time to get this beaut finished up! I attached the tabletop with 4 screws through the bottom of each top side stretcher, and voila!