
One of the many projects we’ve been trying to cross off our to-do list lately here at The Someday Home is getting our new windows trimmed out (and the kids’ closet too, due to an unplanned project snafu). We had our home re-sided back in April and we decided to go ahead and install new windows at that time too, and you guys… they’re beautiful. They’ve been in for a few months now, but I still catch myself staring lovingly at them from time to time. Our old windows were, in a word, disgusting. They were original to the house, which should’ve fostered some affection for them in my ‘love-all-things-old-soul,’ but they were falling apart, inefficient, and most of them rattled every time I walked past them, which of course, was great for the ol’ self-esteem.
So now, I’ve got these beautiful new windows to look out of every day, but it’s created some new projects to fill our time. Because ya’ll know I love all things farmhouse, it won’t surprise you that I decided to go with a farmhouse style trim. Bonus points for these plans I got from the Bless’er House because they require almost no skill at all. I mean, I guess you need to be able to measure a few things and use some minor power tools, but seriously, this trim is SO EASY. And the visual impact is over-the-top.
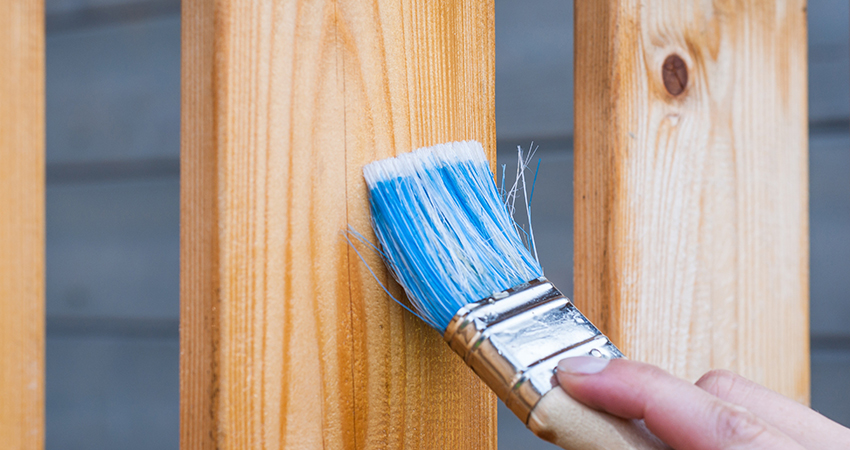
I’m waiting to share final pics until we get all of our windows done, but today I wanted to share with you my process for painting on plain ol’ pine boards because it’s something that I think a lot of people try, get sub-par results, and then get discouraged. If that’s you, or if that’s ever been you, fear not! I’m here to walk you through it!
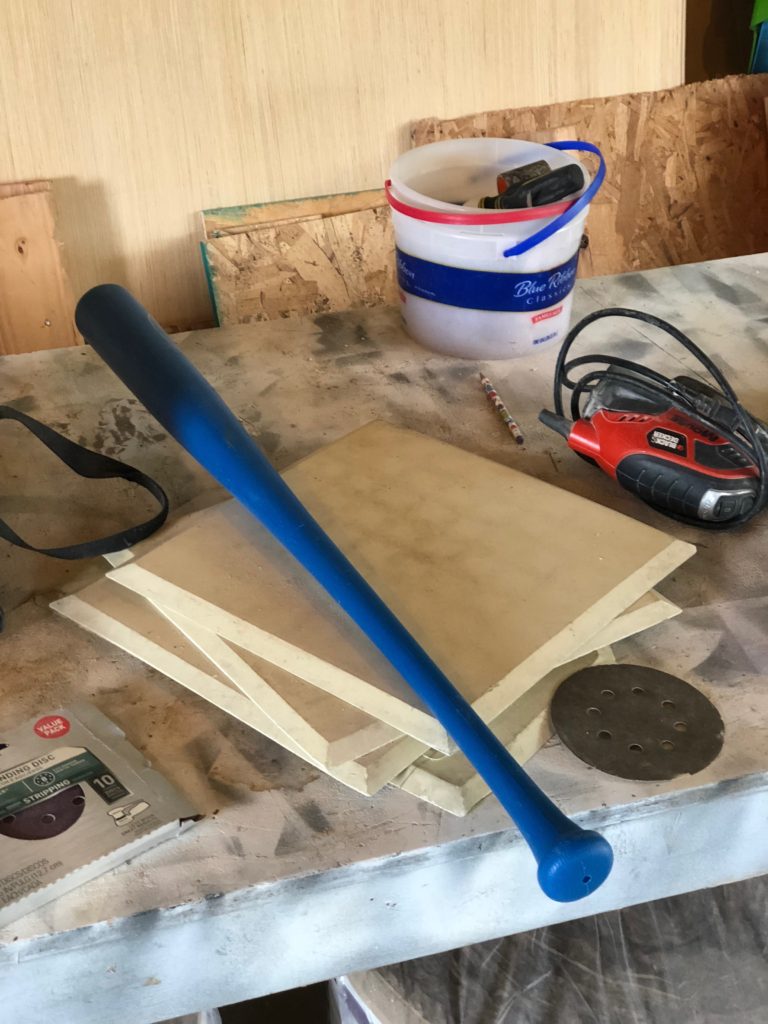
1. Remove all of the crap that doesn’t belong on your workbench.
2. Sanding is super important
I always try to choose fairly nice boards with subtle grain texture if I plan to paint it anyway, but no matter how nice the board is, you’ll still want to sand it really well. I begin with 120 grit sand paper, make a pass with 220 grit sand paper, and then finish with 320.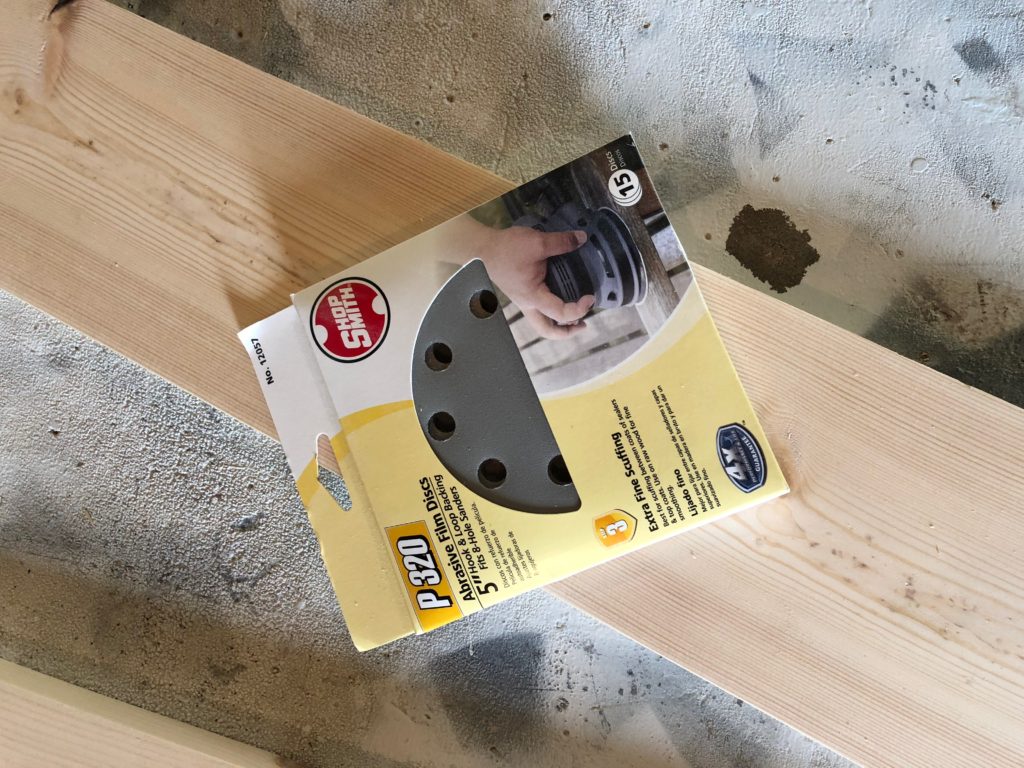
3. Choose the right kind of paint and primer
Primer is an important step that you don’t want to skip. Using primer will help the paint to bond to the wood, and keep any stains from seeping through. I’ve found that no matter where you buy your wood, you never truly know what you’ll be dealing with. It could’ve had something spilled on it, or it might’ve sat in something at some point. You don’t want to get your boards painted only to see stains from a past life seeping through to haunt you.
Some professionals will probably tell you that latex paint isn’t ideal for painting on wood, and honestly, I tend to agree with them. Depending upon what you’re painting, latex paint may not hold up very well. I only use it for items that won’t be handled often, or things that won’t get much wear. Because I don’t plan for my window trim to be handled or touched often and because of the limited availability of products in my small town, I decided latex paint would be suitable for this project. I picked a crisp white from Valspar in a glossy finish. If you know me in real life, you know I hate glossy finishes, but it’s definitely necessary for trim to allow for dusting and such (because that will totally be happening at my house…)
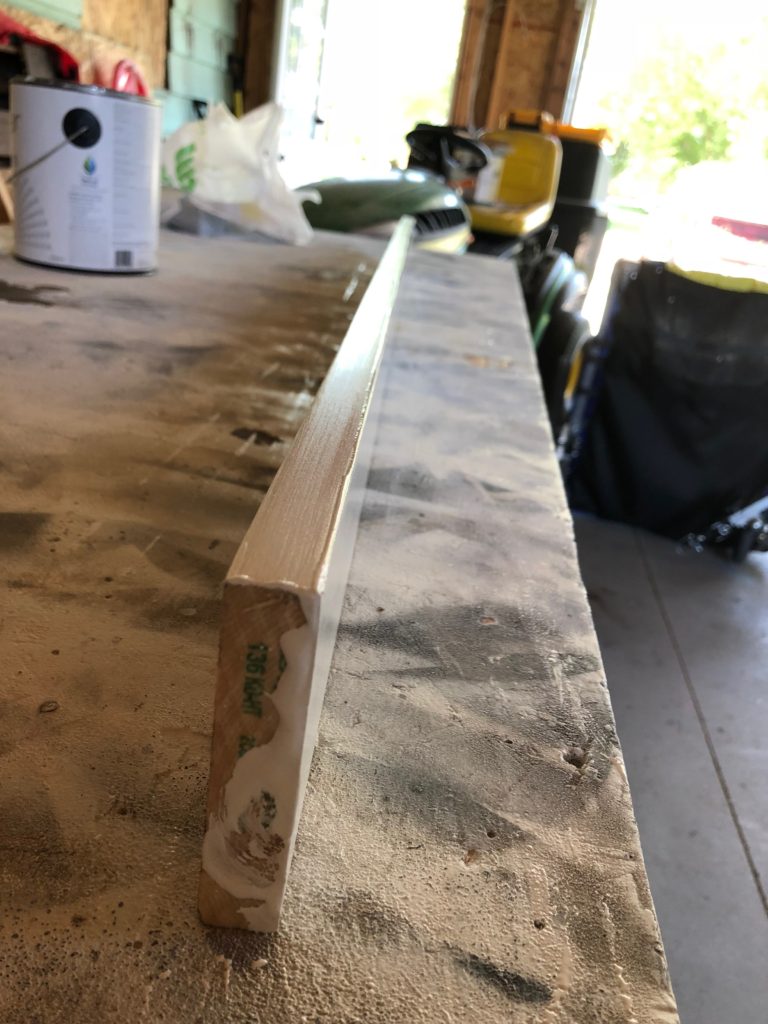
4. Don’t use too much paint
For my first coat of paint, I try not to use too much. My goal is to cover the board without leaving obvious brush strokes, and the less paint you use, the easier it is to do that. Another pro tip: every time you pick up or set down your brush, you’ll see it in the paint. Whenever possible, I try to drag my brush from one end of the board all the way to the other, so I don’t wind up with big fat brush marks right in the middle of my boards.
5. Sand between coats
Hit that sucker with 320 grit paper once, just really quickly. I like to do this step by hand to avoid the dreaded swirl-marks some sanders can leave in the wood.
6. Paint again
I add another coat of paint, and this time, I might use a little more. Again, I try to avoid any obvious brush strokes, and my goal is always to paint from end to end.
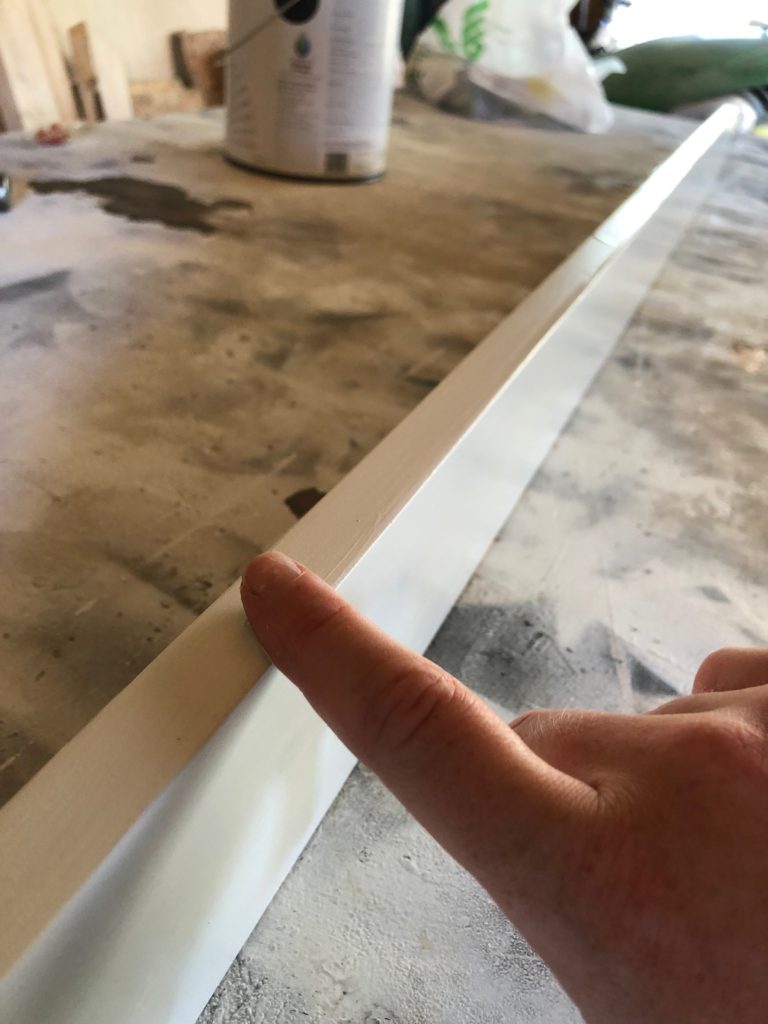
7. Pay attention to the details
With some parts of the window trim, I needed to pain the main surface, but then also the sides too. To do this, I generally paint the narrower side first, and then immediately paint the larger side. The whole time I did this, I paid attention to where the paint was going, and I wiped the excess paint that tried to curl over the edge immediately, to avoid more sanding.
8. Finish it off with a poly
You all know I love my Minwax’s Wipe On Poly, but for this step, you can use whatever you’re comfortable with.
I hope this helps with your next painting project!