If you had asked me two years ago what my favorite items to shop for were, I don’t know what I would’ve told you, but I do know it wouldn’t have been lighting. For some reason, though, that has dramatically changed recently! It’s an often-overlooked design component that can completely change the look of your home, inside or out, and it’s become my favorite decor item to shop for.
So, when we had our home resided this spring, I was anxious to start shopping for my outdoor lighting… but unfortunately, I had approximately zero experience with outdoor lighting. Here are a few quick tips I learned through trial and error (lots of error) and several trips to Menards to make returns and exchanges.
Define your style
This is the most fun, and arguably most important, part of any project. Starting your project without a style in mind is like going to the grocery store without a list. You may pick up some really great things, but will they work together? When you get home, your kitchen will be a hot mess filled with several delicious, but directionless, ingredients (unless you like pork chop waffles with a side of cilantro).
Defining a decor style is like a road map or a recipe. It gives you direction and will help you cut through the noise of everything else out there. I knew that I was going for a rustic farmhouse look (like 80% of the population right now!), so that really dictated my search.
Plan your placement
In my ideal plan, I had envisioned having a light on each side of my garage door. I purchased two of these really cool lanternish lights, and brought them home, sure that Nate would either love them or completely hate them (both are a good indication that my selection is right on point with my vision. There isn’t a lot of middle ground here).
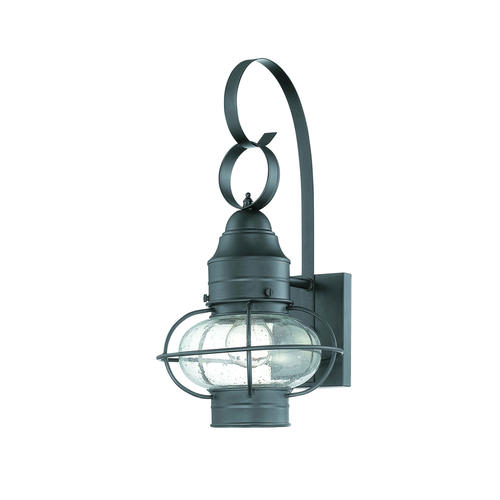
Find it here
Imagine my dismay when I returned home to find that it wasn’t going to work out due to poor planning with our gutter placement. >face palm<. Time to go back to the drawing board.
Pay attention to scale
This was the one that bit me in the butt a few times. I returned my lanterns and decided I would opt for lighting above our garage door instead. I found these great barn lights (at Menards, of course) and I thought it would be really cool to have two mounted above our garage door.
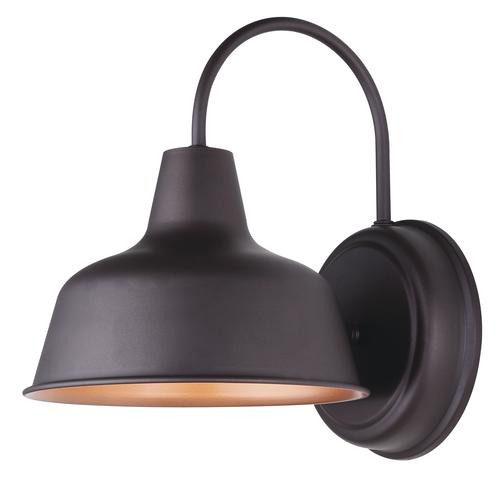
Find it here.
When Nate took them out of the box and held them up above the garage door to determine placement, I immediately knew they were not right. Even with two of them, they were too small above my massive door. Much to his dismay (disgruntlement?), they had to go back. Anyone sensing a theme here?
Because I live in a small town and we don’t have access to large lighting stores without an hour of drive time, I took my search online. I knew I liked the barn light look, but it needed to be bigger than 8″ in diameter, which for some reason, was really hard to find! I wound up ordering this one from Birch Lane.

Find it here.
It was more than I wanted to spend, but it was the one that best fit the space. I even made Nate get back up on the ladder so I could be sure!
Finish
I wanted a dark finish for my lamp, so I ended up spray painting it with the ultimate powerhouse spraypaint. This stuff does it all- from wood, to plastic, to metal. I chose a flat black because ya’ll know I have a serious issue with glossy surfaces. I need to coat it with a flat poly before we mount it, but my local stores didn’t have any in stock at this time, so it’ll have to wait.
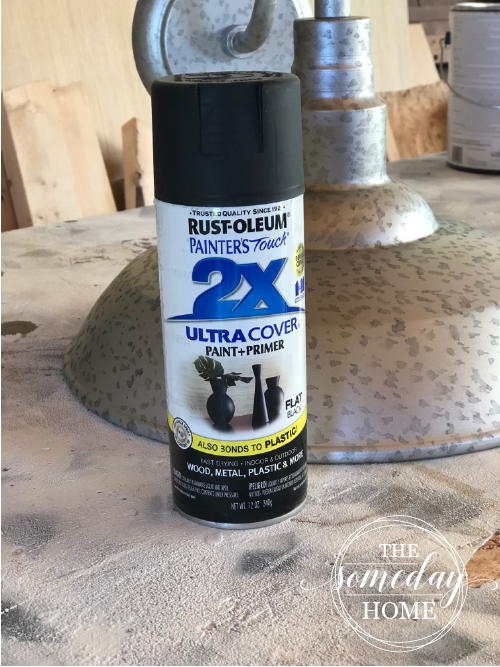
Although I hate spending money on a new item and immediately spray painting it, this is (in my opinion) the best way to ensure that my exterior lights will all match. We’ll be mounting another light above the walk-in garage door, also, and I will want them to have the same color and finish since they’ll be on the same wall.
