When to Buy and When to DIY

If you’re a creative, you’re probably well-acquainted with this scenario: you see something beautiful online or in a store. You fall in love instantly and have the perfect spot for it in your home, so you put it in your cart. You walk around with it in your cart for 30 minutes (or you leave it in your online cart for a week, which is the online equivalent to 30 minutes in real shopping time) and ultimately decide to put it back, because you’re a crafty person and you can totally DIY that exact thing for a fraction of the cost.

Sound familiar? It’s okay, this is a safe space…

Please tell me I’m not the only one who is a chronic ‘why-buy-when-you-can-diy’-er. This is a compulsion that I finally came to recognize a few years back when I walked into my craft room to find a specific paintbrush and got lost in 5 years worth of good intentions and mason jars (oh, mason jars. Why do I have 50 when I can surely get by with ¼ of that?!). Since then, I’ve been working hard to fight the impulse to never buy a single thing and make everything I want on my own, but it hasn’t been an easy switch to flip in my mind. You see, the thing is, just because I can make it on my own doesn’t necessarily mean I should or that I have to.

As much as I love making things (with the exception of food… why the heck wasn’t I born with a love for cooking instead?!), the truth is there are simply not enough hours in a week for me to accomplish all of the DIY projects I’ve dreamt of completing. I’m at a point in my life where I can finally admit I’d rather simply have the item in a timely manner than have the pride of saying ‘I made that myself’ 5-6 months after the fact.

So, for that reason, I’ve come up with a handy little list to determine whether…

To Buy or DIY:

Buy it:

  • DIYing would require learning an intensive new skill that I am either not excited to learn or unsure I would ever use again in the future.
  • The cost of the materials is ¾ the cost of the finished item or more (believe it or not, this does happen!)
  • Buying the finished item would mean supporting another maker or crafter.
  • DIYing it would require high-level professional skills that I do not possess, such as plumbing or electrical.
  • I really love it and I want it exactly as-is; there would be no need to alter it in any way.
  • I have an immediate need for it in my home (ie: a dresser that your son desperately needs, that ends up taking you almost a year to complete).

DIY it:

  • I’ve always wanted to learn how to ________, and this gives me the perfect excuse to finally do it!
  • I don’t need it immediately.
  • It is simple or is compiled of simple steps that one or two of the kids might like to help me with.
  • The materials aren’t terribly expensive (therefore, if it gets messed up, I won’t be out too much money!).
  • The pride of being able to say ‘I made this’ is worth the time and the effort.
  • I can alter the original to better suit my needs/fit a certain space/increase the quality.
  • The money I save would make my time worth it.

That’s my checklist. Honestly, 6 years ago I was a serial diy-er, and I lived with a lot of empty spots in my home; from stacked laundry (that dresser will get built someday!) to blank walls (I have the perfect idea for a piece of art, I just need the time to do it!!). I still have quite a few unfinished/unfurnished areas in my home and a DIY list that would make Martha Stewart roll her eyes, but I am working hard to embrace the simplicity of just buying items on occasion.

Over to you! Are you a chronic DIY-er? What projects do you have on your list that still aren’t finished? Don’t worry- this is a judgment-free zone! 😉

2 Step Stain Process

Last week when I shared my post on Owen’s dresser, I told you I would share my staining process with you later, and you’ve all undoubtedly been on the edge of your seats ever since, right? Right?? Well, even if you haven’t been, today’s your lucky day. I’m here to teach you all about my 2 step staining process.

I don’t always use this process, but I’ve found that if I want to add depth or character to a piece, this is a great way to do it. Sometimes I think it can look too flat when you only use one stain, so this is how I add some dimension. Also, if you’re a fan of subtle distressing or a refined rustic look, this is a great way to achieve that. It allows you to do some distressing without having such a stark difference between the dark finish and the light wood, which you reveal when you sand. Does that make sense? Hopefully it will soon.

2 Step Staining

(I actually realized that this process is more than two simple steps, so sorry for the misleading title…)

Step 1: Find a scrap piece of wood to test on

It’s always, always a good idea to test your stain on a scrap piece first. Stain finishes can vary based upon so many factors, from the amount of time you let it penetrate to the type of application method you use, but in my opinion, the biggest factor in how your finish looks will be the type of wood you stain on.

Step 2: Start with a wood conditioner

Especially if you’re using a softwood (softwoods include pine, cedar, and fir. Find a great list of hardwoods and softwoods here), you’ll want to use a wood conditioner. Softwoods tend to have a hard time taking the stain evenly, and using a wood conditioner or pre-stain can help with that issue.

Step 3: Stain with your base color

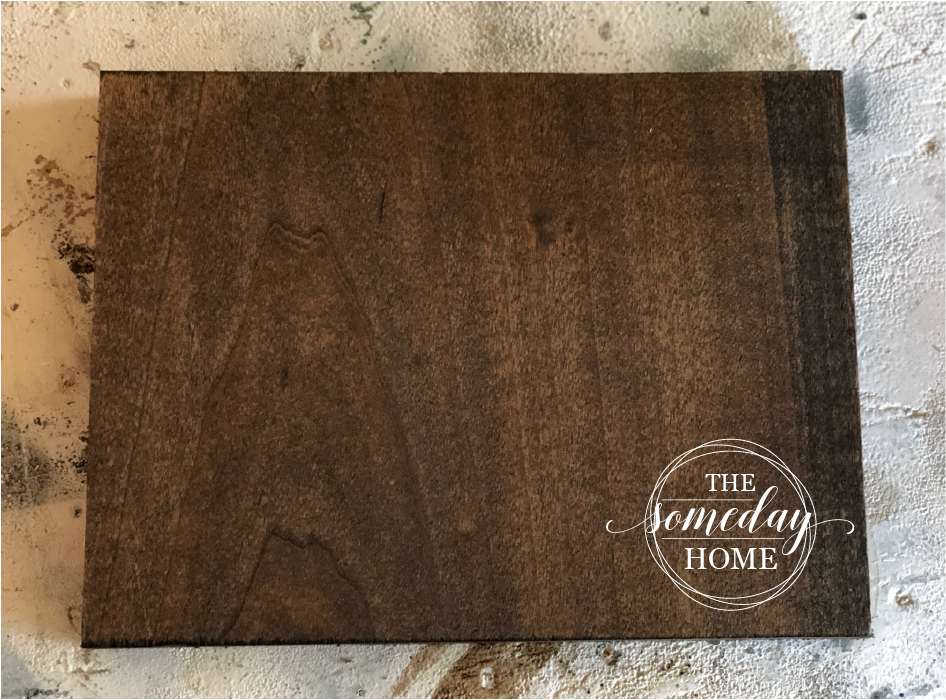
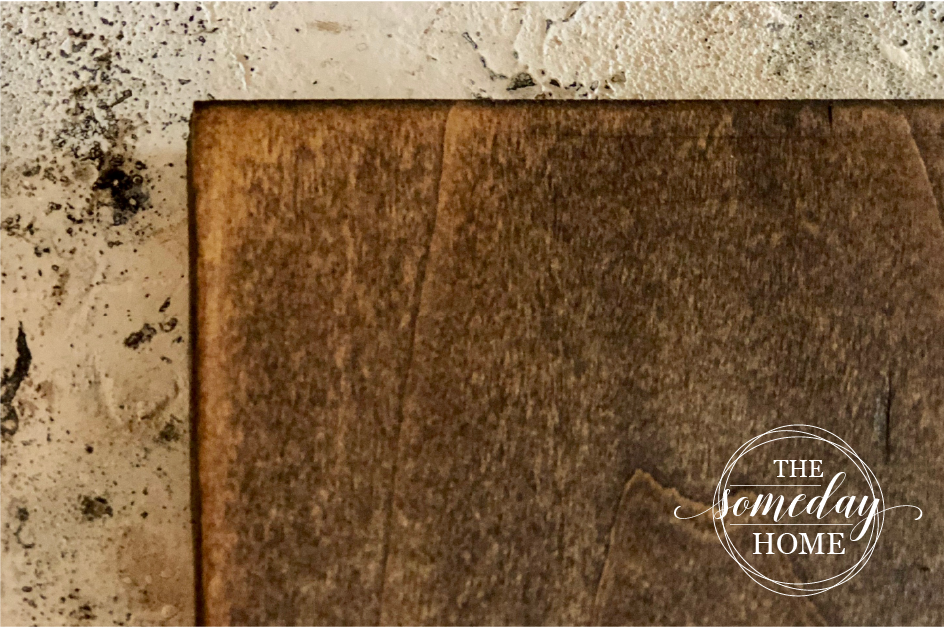
Depending upon my desired final result, I usually like to use my darker or more overpowering stain first. If you use your lighter stain first, it gets mostly covered by your darker stain, making a 2 step process pretty much pointless. For Owen’s dresser, I used Espresso by Minwax for my first stain.

dark stained wood

Step 4: Lightly sand

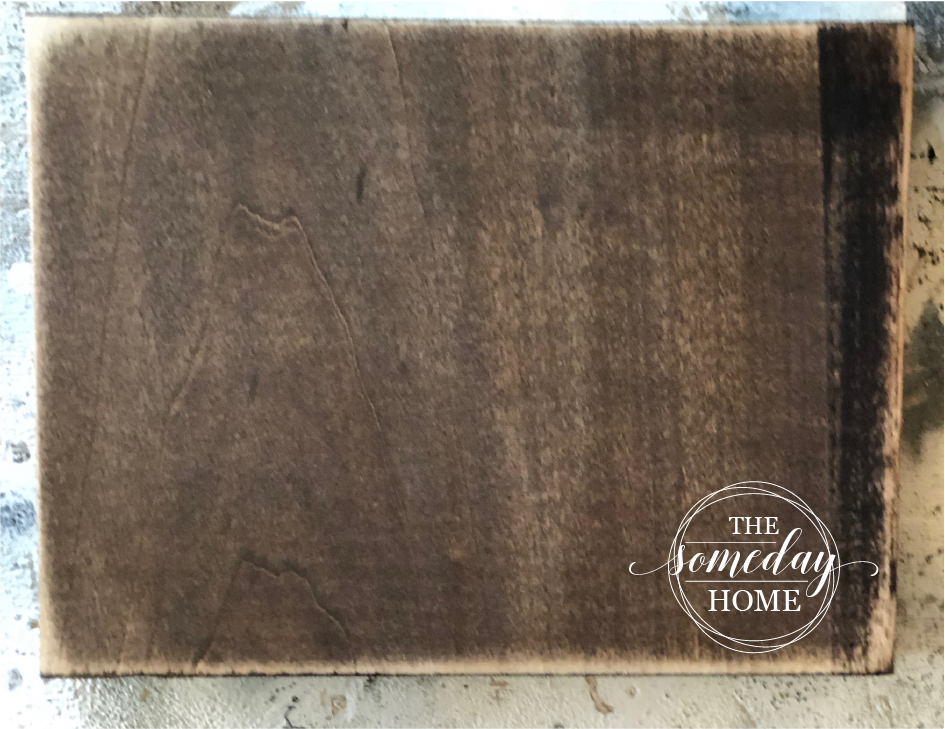
Once your base stain has completely penetrated and dried (I recommend at least 24 hours, but ideally 48), take a fine-grit sandpaper to it. Your overall goal is really what will determine how much and where you sand. If you simply want to add dimension but no distressing, sand very lightly (by hand with a sanding block, ideally) with a 320 grit sandpaper.

If you want some distressing, you can use 220 or 240 grit sandpaper to take off a little more of the top layer. You’ll want to do a little extra sanding on the corners and edges, and anywhere that natural wear would occur over time (think around handles, at the bottom of legs, etc.). I still like to finish with a really light once-over with 320 grit after this, just to even everything up.

sanded block of wood

Step 5: Stain with your second color

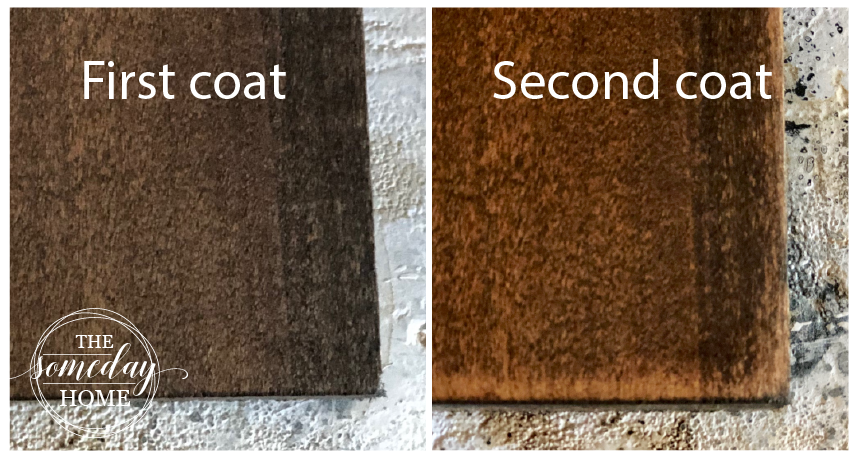
I use my lighter color for my second coat. Again, depending upon my desired final outcome, I might choose a stain just a few shades lighter than my dark stain, or I might choose something drastically lighter. I didn’t want the distressing to look too drastic on Owen’s dresser, so I used Early American by Minwax. It’s a trusty, middle-of-the-road tone that you just can’t go wrong with. It’s not too light and not too dark.

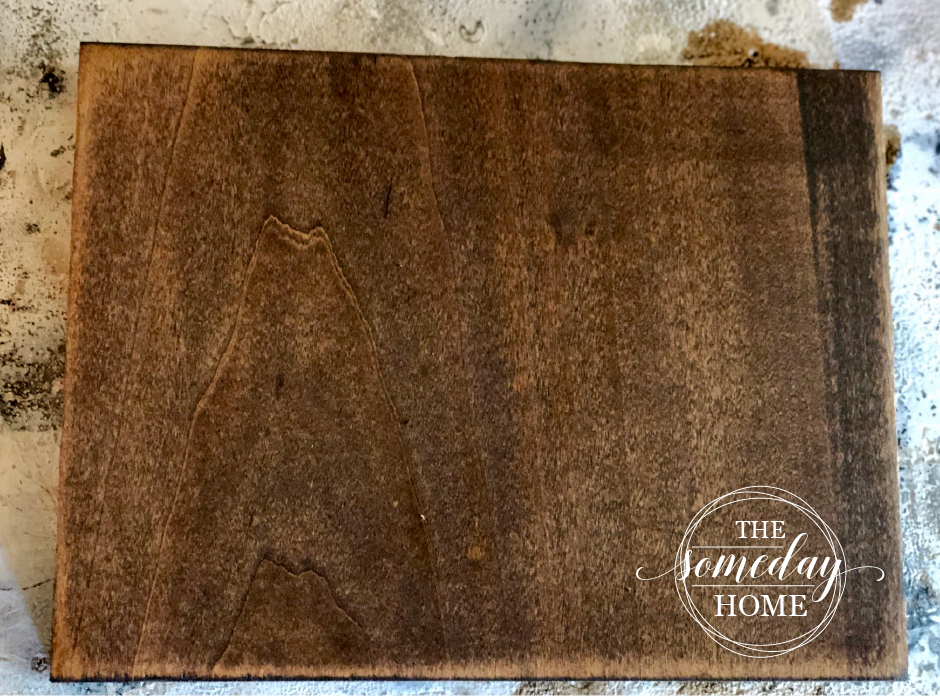
You’ll notice when you go over your dark stain with your lighter stain that the areas that pick up most of the new color are going to be areas that you sanded the most. It also adds just a hint of brightness to the darker areas.

wood block
Just look at how much brighter that looks! I think it brings out so much depth.
block of wood
You can really see the difference in the corners, where I sanded the most.

Step 6: (Optional) Repeat step 5, or add a poly coat

After letting your piece dry for at least 24-48 hours, you can decide if you want to repeat step 5, or if you’re ready to poly. Ya’ll already know what I’m going to tell you here… if you’re ready to polyurethane, you’ve got to check this out!

And that’s pretty much it! If you use this method, I hope you’ll let me know. Leave a photo in the comments, or share it with us all on my facebook page.


How to Get the Perfect Finish Using Latex Paint

One of the many projects we’ve been trying to cross off our to-do list lately here at The Someday Home is getting our new windows trimmed out (and the kids’ closet too, due to an unplanned project snafu). We had our home re-sided back in April and we decided to go ahead and install new windows at that time too, and you guys… they’re beautiful. They’ve been in for a few months now, but I still catch myself staring lovingly at them from time to time. Our old windows were, in a word, disgusting. They were original to the house, which should’ve fostered some affection for them in my ‘love-all-things-old-soul,’ but they were falling apart, inefficient, and most of them rattled every time I walked past them, which of course, was great for the ol’ self-esteem.

So now, I’ve got these beautiful new windows to look out of every day, but it’s created some new projects to fill our time. Because ya’ll know I love all things farmhouse, it won’t surprise you that I decided to go with a farmhouse style trim. Bonus points for these plans I got from the Bless’er House because they require almost no skill at all. I mean, I guess you need to be able to measure a few things and use some minor power tools, but seriously, this trim is SO EASY. And the visual impact is over-the-top.

I’m waiting to share final pics until we get all of our windows done, but today I wanted to share with you my process for painting on plain ol’ pine boards because it’s something that I think a lot of people try, get sub-par results, and then get discouraged. If that’s you, or if that’s ever been you, fear not! I’m here to walk you through it!

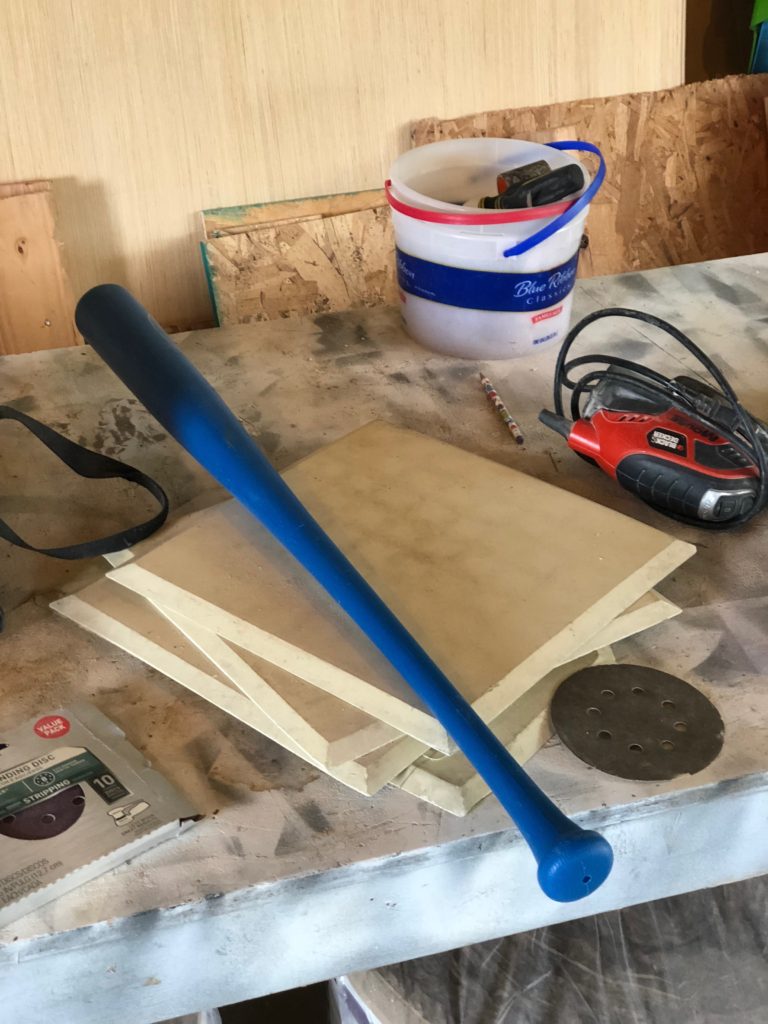
1. Remove all of the crap that doesn’t belong on your workbench.

blue baseball bat with bases and sander
Looking at you, baseball stuff

2. Sanding is super important

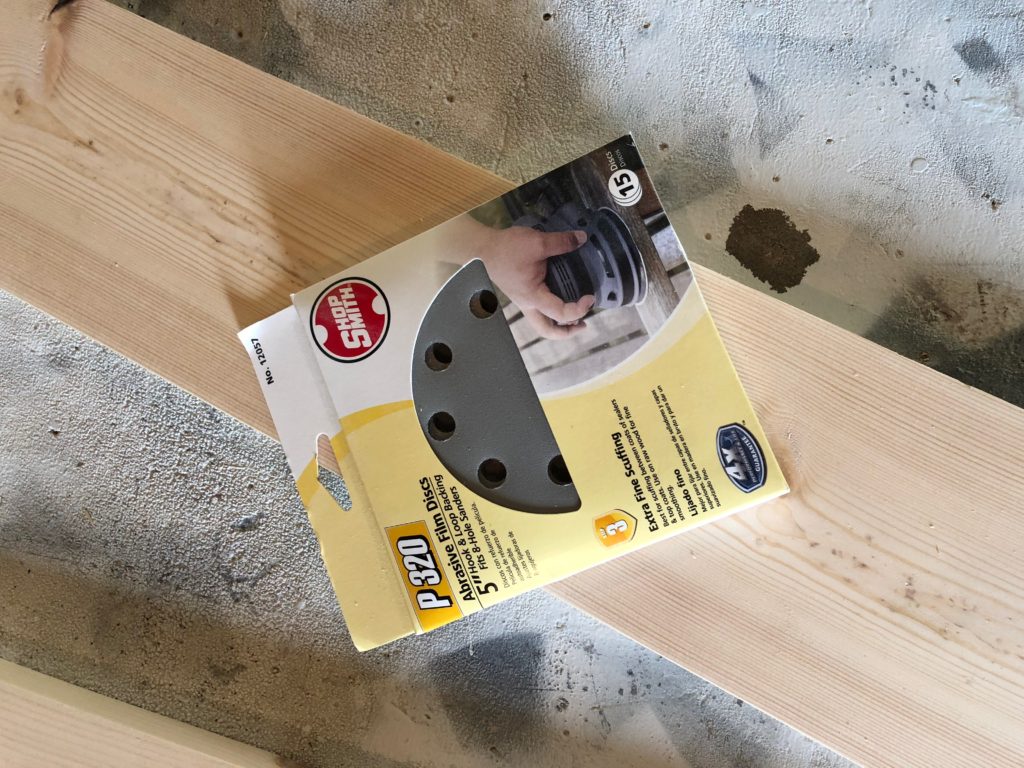
I always try to choose fairly nice boards with subtle grain texture if I plan to paint it anyway, but no matter how nice the board is, you’ll still want to sand it really well. I begin with 120 grit sand paper, make a pass with 220 grit sand paper, and then finish with 320.320 grit sand paper on pine boards

3. Choose the right kind of paint and primer

Primer is an important step that you don’t want to skip. Using primer will help the paint to bond to the wood, and keep any stains from seeping through. I’ve found that no matter where you buy your wood, you never truly know what you’ll be dealing with. It could’ve had something spilled on it, or it might’ve sat in something at some point. You don’t want to get your boards painted only to see stains from a past life seeping through to haunt you.

Some professionals will probably tell you that latex paint isn’t ideal for painting on wood, and honestly, I tend to agree with them. Depending upon what you’re painting, latex paint may not hold up very well. I only use it for items that won’t be handled often, or things that won’t get much wear. Because I don’t plan for my window trim to be handled or touched often and because of the limited availability of products in my small town, I decided latex paint would be suitable for this project. I picked a crisp white from Valspar in a glossy finish. If you know me in real life, you know I hate glossy finishes, but it’s definitely necessary for trim to allow for dusting and such (because that will totally be happening at my house…)

4. Don’t use too much paint

For my first coat of paint, I try not to use too much. My goal is to cover the board without leaving obvious brush strokes, and the less paint you use, the easier it is to do that. Another pro tip: every time you pick up or set down your brush, you’ll see it in the paint. Whenever possible, I try to drag my brush from one end of the board all the way to the other, so I don’t wind up with big fat brush marks right in the middle of my boards.

5. Sand between coats

Hit that sucker with 320 grit paper once, just really quickly. I like to do this step by hand to avoid the dreaded swirl-marks some sanders can leave in the wood.

6. Paint again

I add another coat of paint, and this time, I might use a little more. Again, I try to avoid any obvious brush strokes, and my goal is always to paint from end to end.

7. Pay attention to the details

With some parts of the window trim, I needed to pain the main surface, but then also the sides too. To do this, I generally paint the narrower side first, and then immediately paint the larger side. The whole time I did this, I paid attention to where the paint was going, and I wiped the excess paint that tried to curl over the edge immediately, to avoid more sanding.


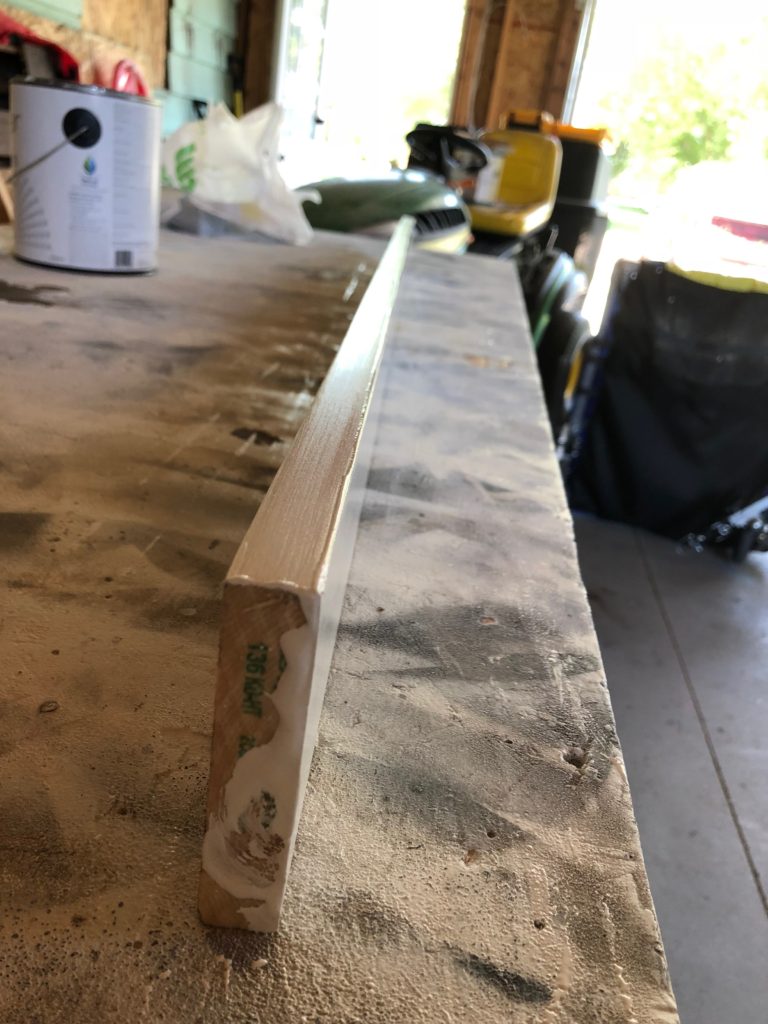
painted board on bench
Notice the paint that rolled over onto the edge of the board? Not so pretty.
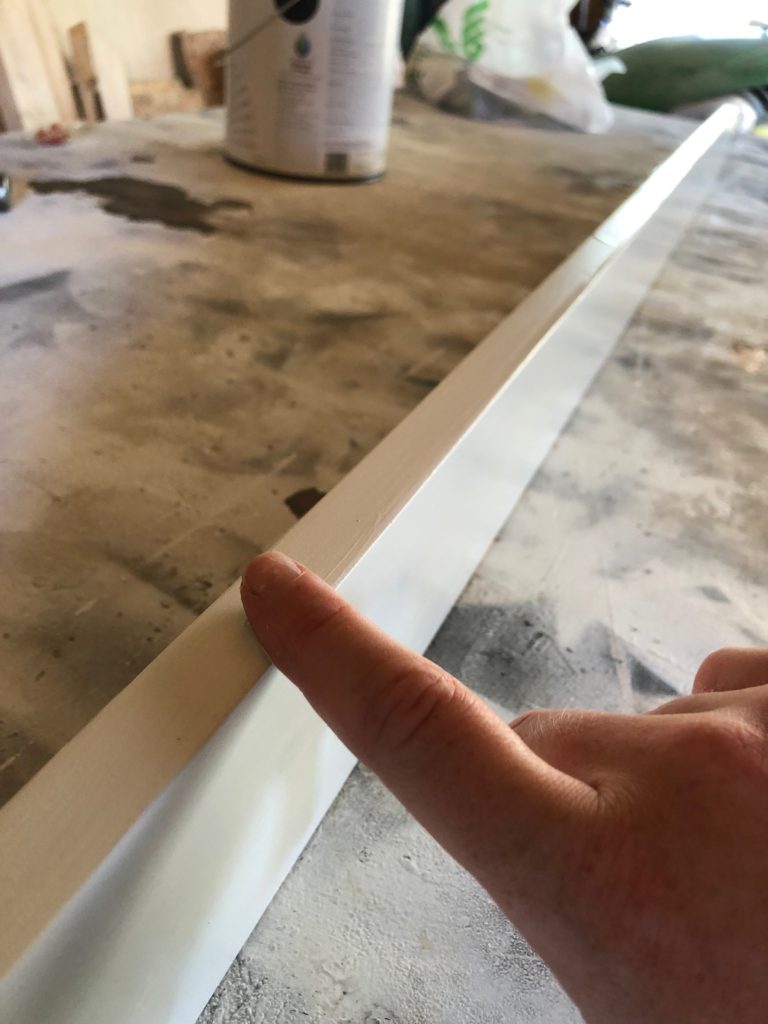
finger on white board
You can use a small paint brush to smooth out the excess paint, or if you’re a seasoned crafter who has burned their fingerprints off with glue guns repeatedly, your finger works just fine.

8. Finish it off with a poly

You all know I love my Minwax’s Wipe On Poly, but for this step, you can use whatever you’re comfortable with.

I hope this helps with your next painting project!


Love at first wipe: my favorite poly

First off, this is not a paid post. I’m just sharing with you all because I really love this product.

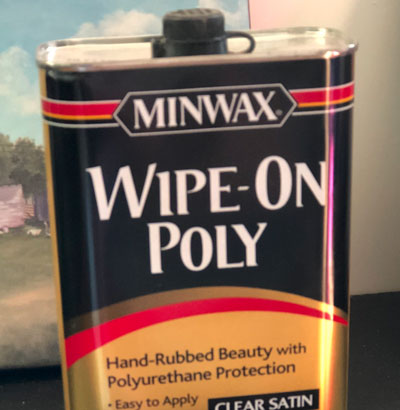
I’ve used a lot of finishing products in the last five years, but none of them have topped this one for me: Minwax Wipe-On Poly in Clear Satin. This stuff gives me a perfect finish every single time and it dries so fast! I’m not a high-gloss kind of girl– I’m just not. This poly is perfect because it gives wooden projects just the right amount of sheen (which, in my opinion, is minimal) to look finished and because it’s a wipe-on product, you don’t have to worry about brush strokes or unevenness.

It couldn’t possibly be easier to use, as long as you can read the back of the can. But, just in case you were wondering how I do it, here’s my step by step:

1. Grab a rag.

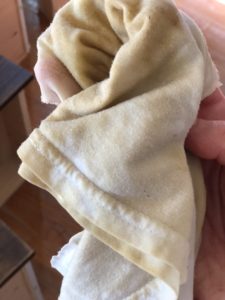
I like to use something soft and smooth enough it won’t leave drag marks in the poly, and also won’t pill or shed. I’ve found an old t-shirt works perfectly for this.white tshirt in hand

2. Put on at least one glove.

I’ve learned this lesson more than once the hard way. I skipped the glove this weekend when I was finishing Owen’s dresser, and my hand was sticking to everything (think Clark Griswold after he cut down his Christmas tree) for hours.

3. Douse your rag in poly.

You really can’t go wrong at this point. Even if you get too much on your rag, you’ll even it out once you begin to apply it to your finished piece.

4. Apply to your finished piece.

Rub the poly onto your piece in smooth strokes, going with the wood grain. I typically like to start at one end of the piece and run the rag all the way to the end without stopping (when possible), just to ensure I avoid any strange marks.

5. Check your work often.

Check your work from various angles to make sure you’re coating your project evenly.


And that’s really it! I usually find my first coat of poly dries within an hour (depending on the temperature and humidity of my workspace). I like to lightly sand (by hand, with nothing courser than 320) and then apply a second coat, typically.

It’s at this point that I wish I had thought to take a before and after photo, but of course, I got wrapped up in what I was doing and didn’t even think about it until it was too late.

You can find Minwax Wipe-On Poly at most lumber yards and home improvement retailers, but I always buy mine at Menards (because, as I might’ve mentioned before, we practically live there).

This was the perfect finishing touch for Owen’s dresser. I finally got it finished and in his room and I don’t think I could be happier with it! I can’t wait to share the story with you all.